Remastering Naturebound: Rebuilding Mechanics
Part 1 in my Naturebound Series.
As I showed in a previous article, my first game was essentially unfinished when I released it back in May 2024. Although I worked hard to make a final, playable product, I was unhappy with the results.
Therefore, I have decided to remaster my first game, changing the art direction, gameplay, and story pieces as I have no creative restrictions with this project anymore. I also decided to start the project again from scratch, as I did not feel like relearning the codebase which was extremely unorganized.
Creating a new player controller
The old player controller was unfinished, and it was very hard to control. Instead of rewriting the original controller, I decided to create a new one.
The new player controller is able to jump, crouch, and sneak, and In the future I plan on adding climbing and others to really allow the player to explore the world as freely as possible.
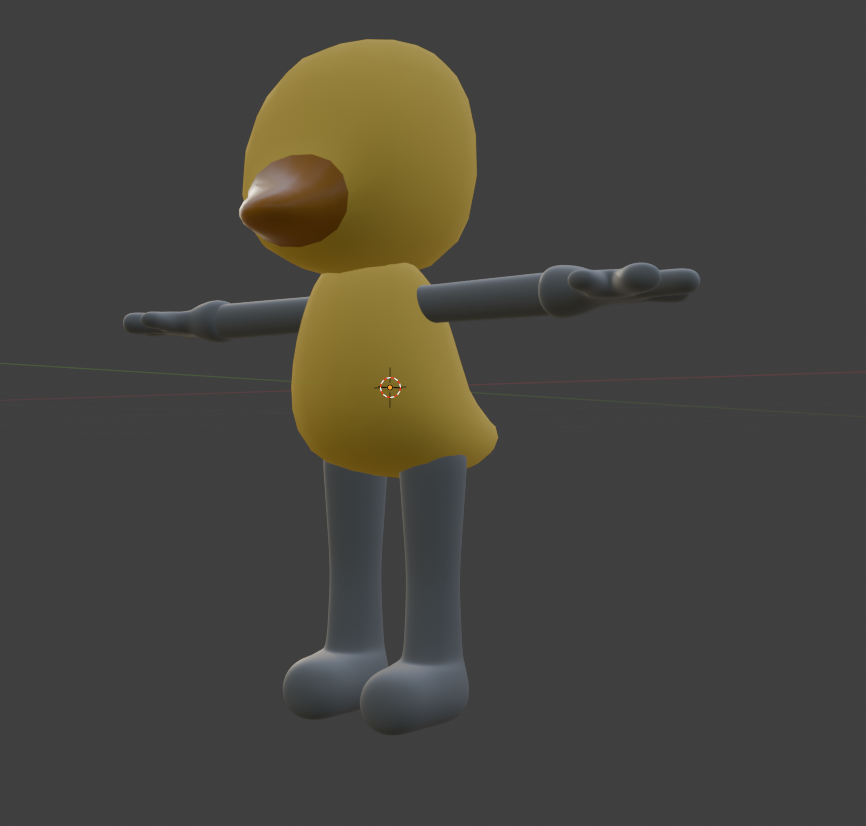
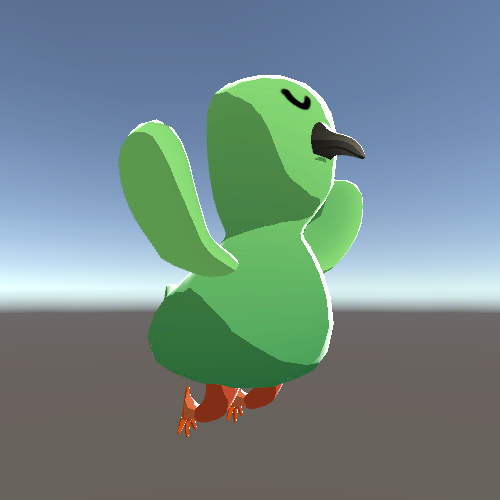
While creating this player controller, I wasn’t even focused on remastering Naturebound, I was more focused on creating a player controller for any future project. I had a few concepts on my mind, from a beat-em-up similar to Skylanders, or Hyrule Warriors, to a Portal-like grapple gun game, where the main character was a duck-like creature.
For the latter, I even created a player model (which wasn’t very great), showing how I was ready to start work on this concept.
Changing the art direction
The old game had a mix of PBR shaders and stylized textures, making for an arguably messy look. On top of this I did not use any post-processing effects (since I had to compile to WebGL), or Global Illumination, which made the game look even worse.
Changing lighting techniques
Global illumination, or indirect lighting is a common practice in game engines that replicates the way that light bounces off of objects such as walls. This practice is usually branded under the term “RTX” or “Ray Tracing”.
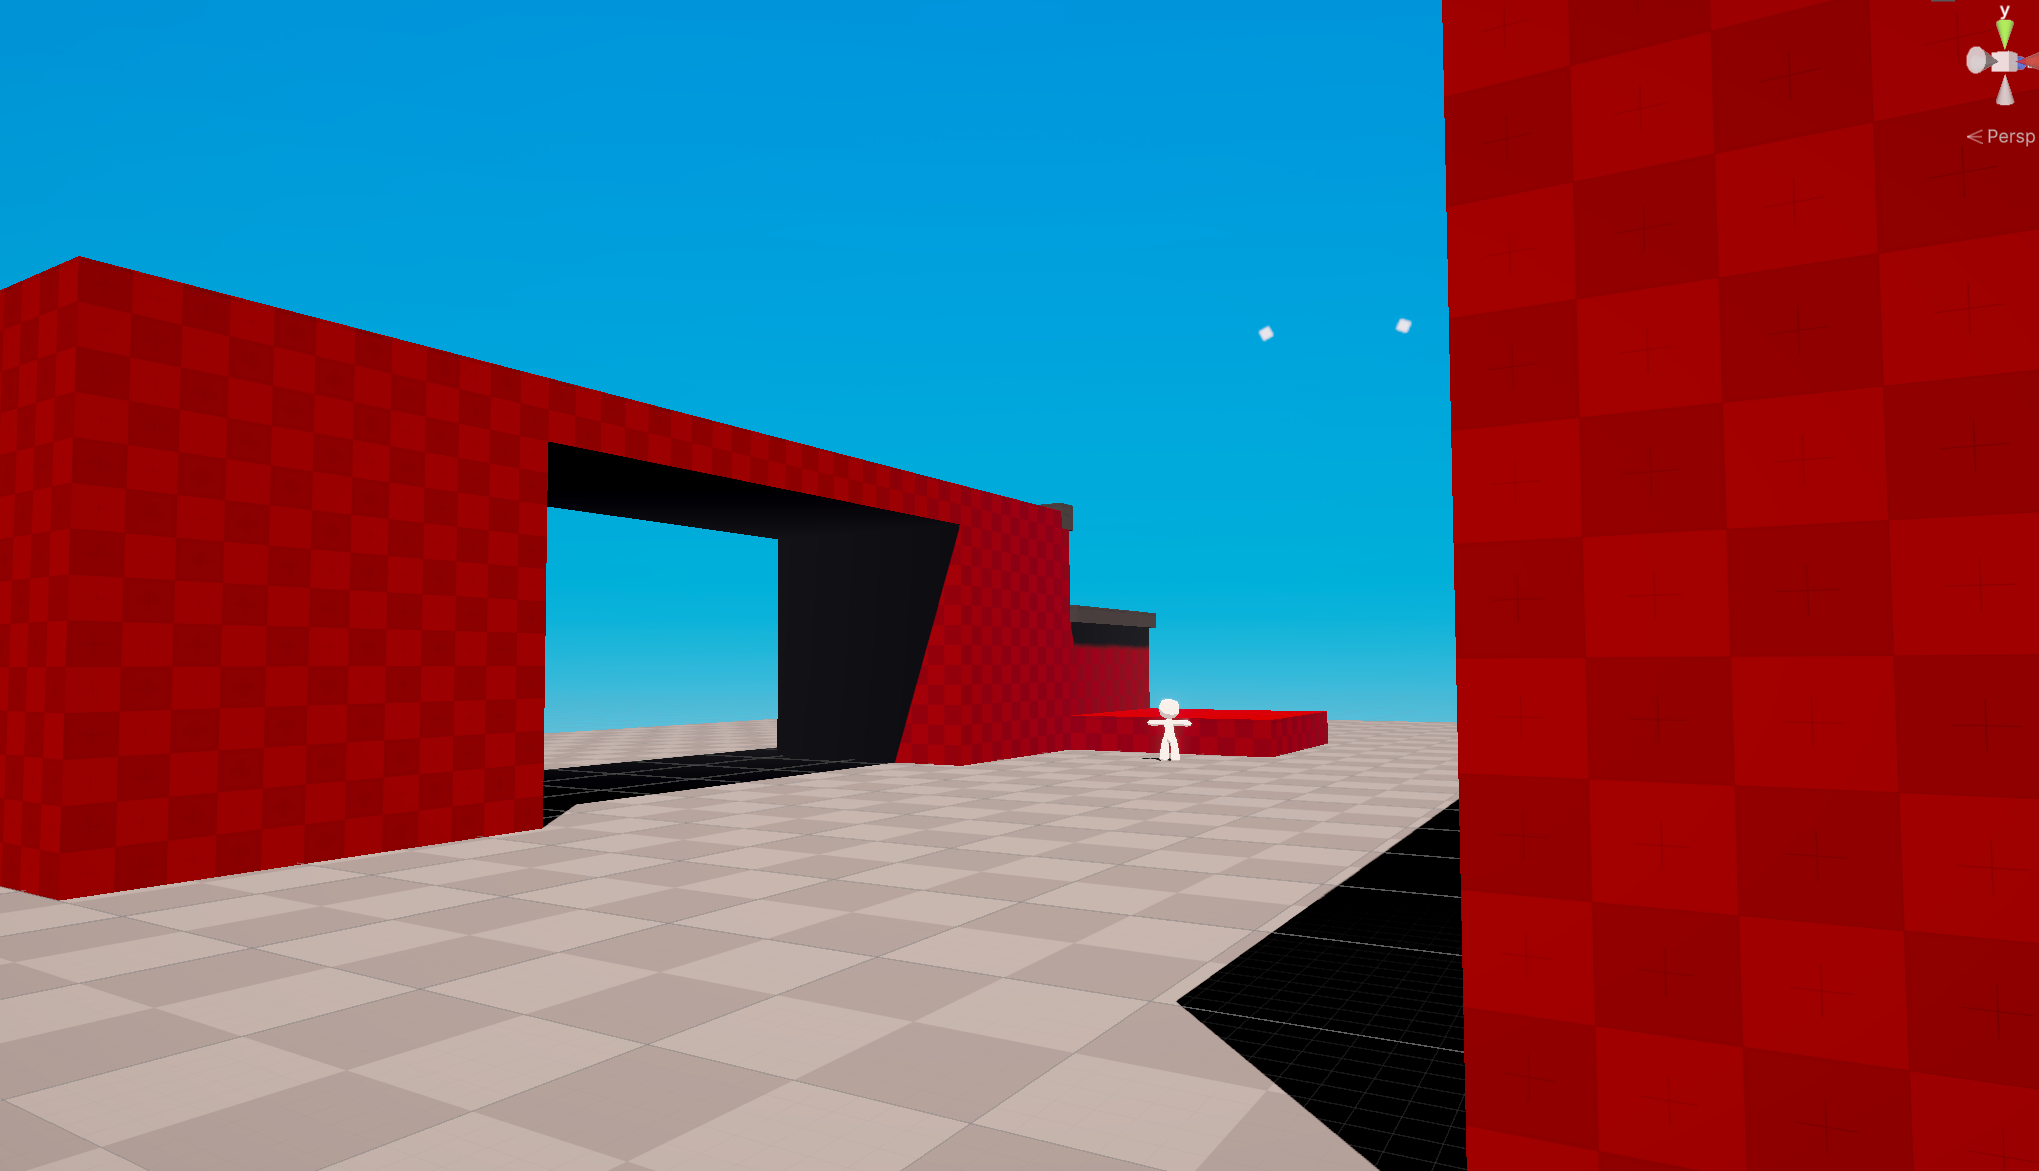
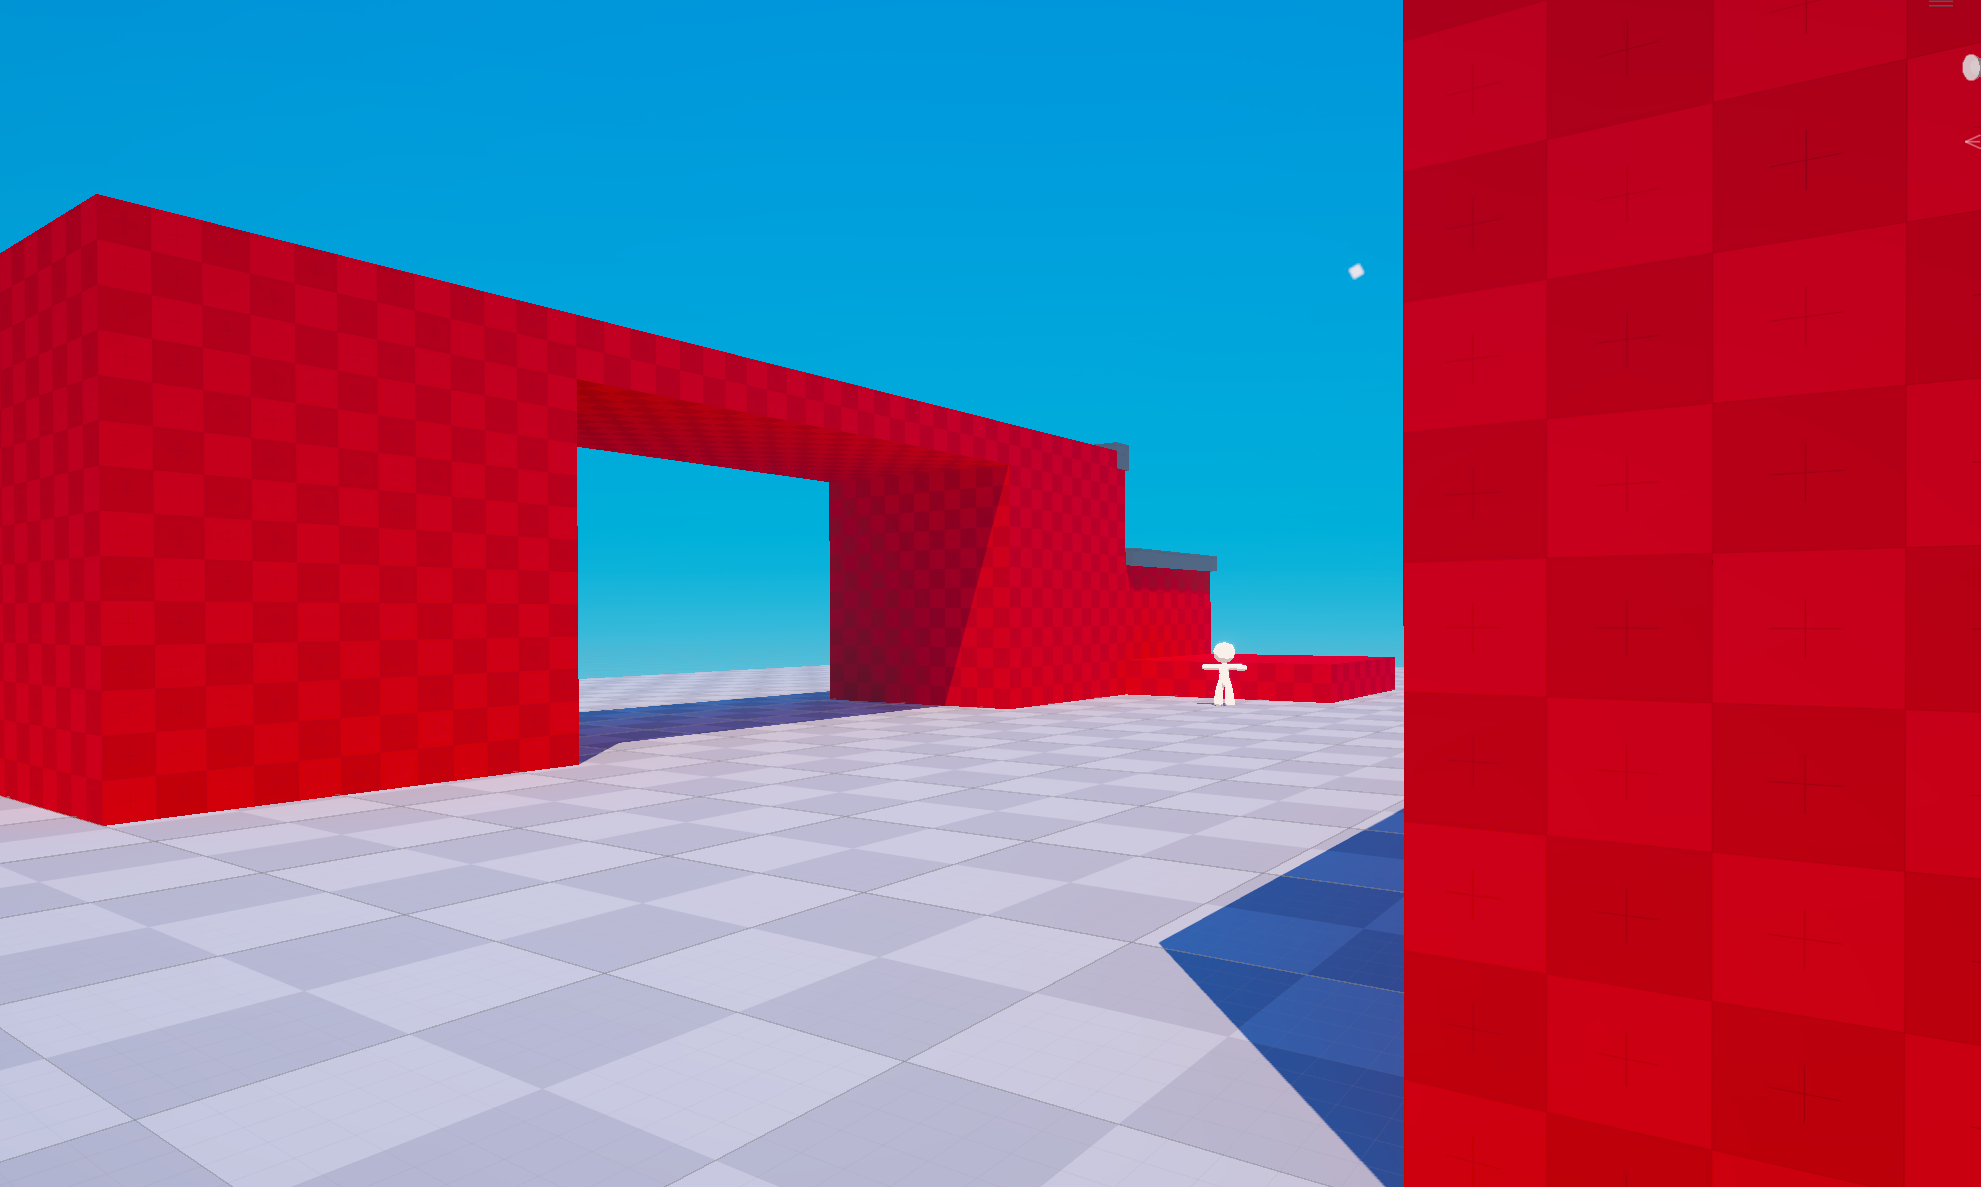
You can see that the image on the top is lacking lighting in the shadows. Global illumination illuminates the shadows, making the game look more realistic.
Now that I am specializing the game to run on PCs, I can finally utilize techniques that will make my game look great. The environments and
Changing shaders
In the original game, I actually had toon shading set up. I wrote a full toon shader that worked with shadows and all. However, I decided to not use the toon shader, as I supposedly wanted a more realistic look.

The new toon shader does not support shadow rendering (yet), but it looks leagues better than the original shaders.
Rebuilding the game mechanics
Rebuilding the player controller
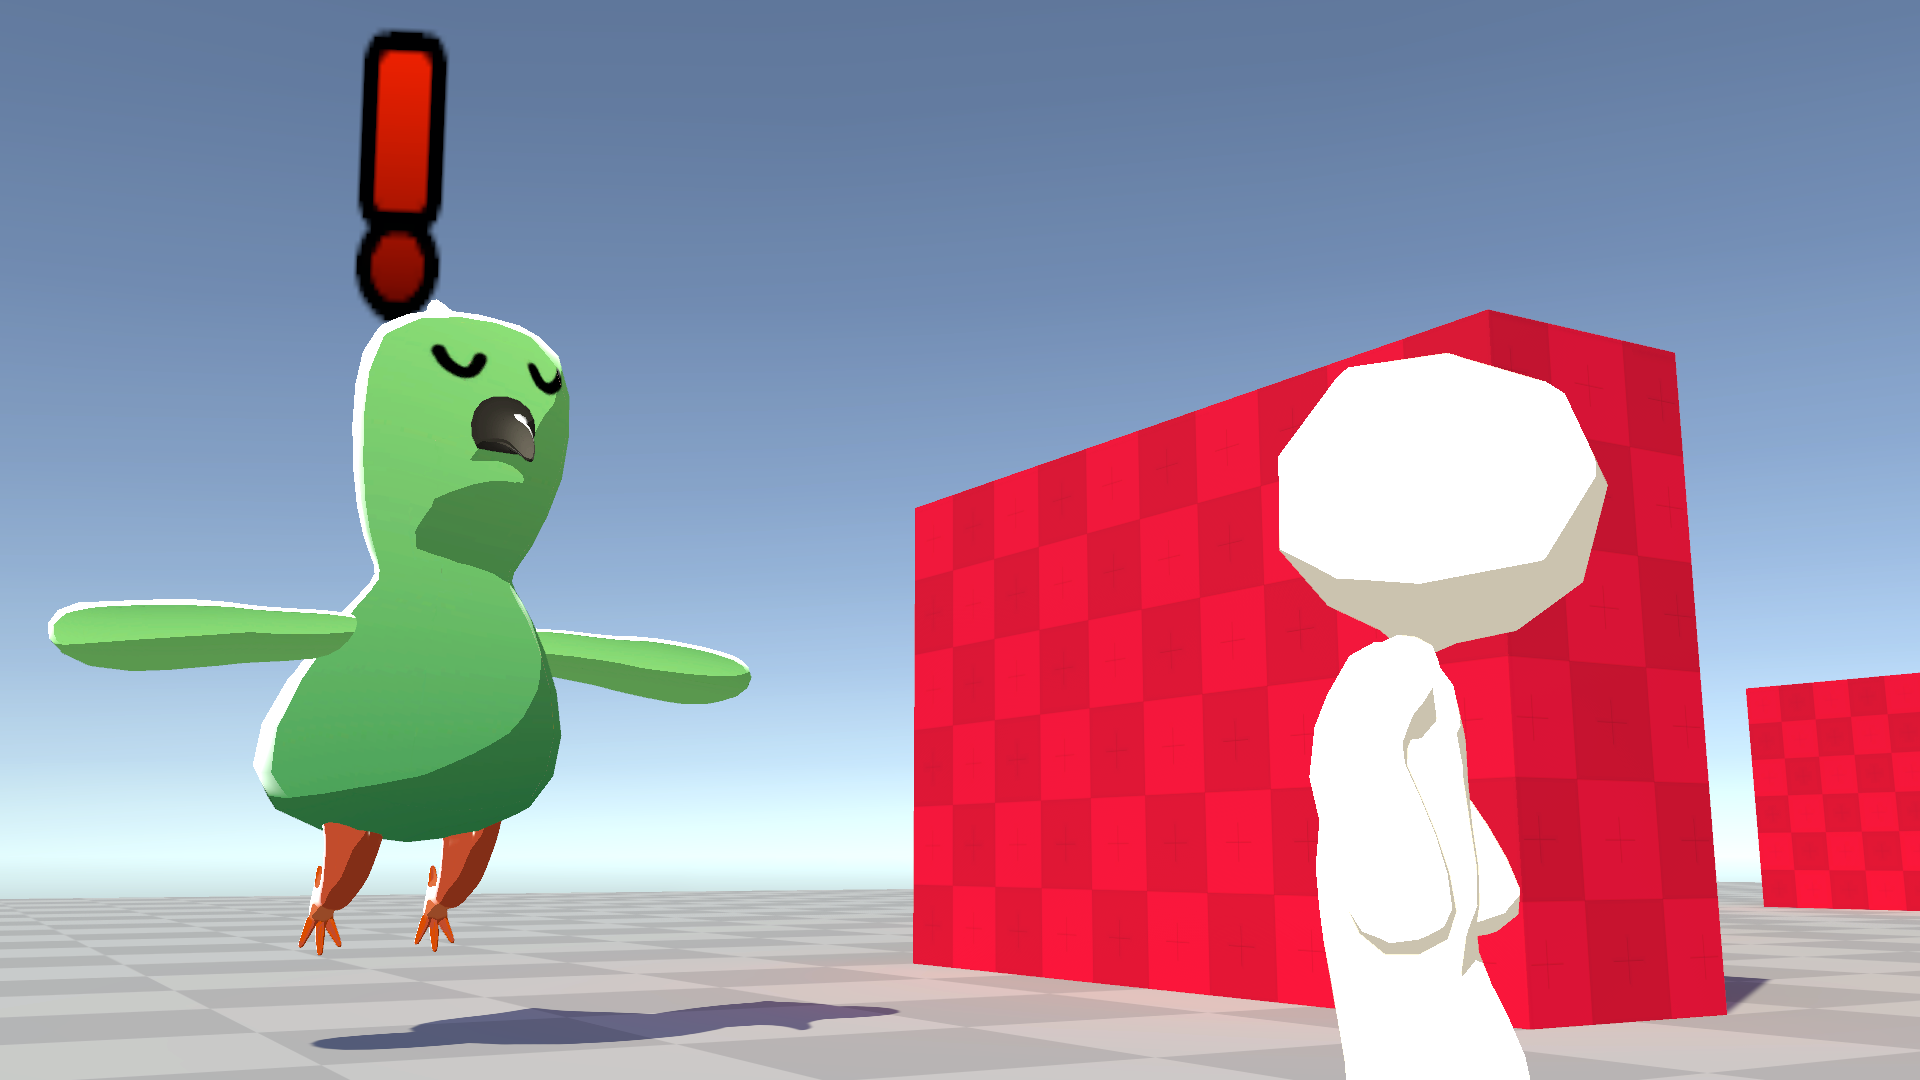
Now that I had a new player controller, I quickly decided to get rooms and dialogue working in order to recreate the NatureBase scene in the original game. The original game’s rooms were able to function, but I did not entirely “love” the way that they looked, and how it felt like a basic unpolished unity game.
This scene is obviously in progress, but it will probably be the NatureBase scene in the new project.
I learned that instead of focusing on artwork and polishing, I should focus on getting the features ready. Originally, I was very focused on getting the game to look good over getting the game to work. The unfinished/block-out scene represents this.
Rebuilding the dialogue system
The previous dialogue system was sequence-based. Not that the system was unusable, as it was probably the one system in the game I spent the most time on. I could add certain events using Unity’s trigger system, making it so that I can give the player items, or change the scene in the middle of a dialogue sequence.
I started work on the dialogue system, just trying to get NPCs somewhat working.
After a few hours of writing this article and porting scripts over, I got back to writing the system, now with a few changes. The new dialogue system is similar to the old dialogue system, where every “event” is under a list, but not in the same way.
In the new system, dialogue sequences are stored in a ScriptableObject, instead of an NPC component. This allows for reusable dialogue sequences, and makes it easier to develop new sequences.
Another addition to the new dialogue system, is the ability to use non-text events.
Dialogue Event Types
- Normal
- Just the basic text dialogue event
- Options
- A dialogue event where a player can choose as many options as possible
- Give Animal
- A dialogue event where an NPC can give a player a prefabricated animal
- Play Scene Event
- A dialogue event where a scene-specific event can play
The previous project had only the first and last options, and was arguably unstable.
This video showcases the different event types, where the particle event is played when the player finished the conversation.
Rebuilding the save data system
Previously, the save data system was PlayerPrefs based, then cloud based.
PlayerPrefsis a feature in Unity that allows developers to quickly save data to the system registry. The feature is extremely vulnerable, as users are able to change data that has been saved by their game(s).
Since I used cloud-based saving, actually trying to get footage of the game after about a year was difficult. I had to make changes to the code in order to skip most of the network checks that came with Unity Cloud. The old save data system was not bad though, I just wish I picked a more cohesive system.
With the new system, I will not be using cloud-based saving, or the PlayerPrefs system, as I will be developing my own save data system, which I will not document, as it may give away secrets to my method. Just know that the system has changed, now with encryption.
Rebuilding the basic data system & porting over scripts
Some scripts from the original project were actually perfect for a project like this, like the Animal, Move, Biome, and Trial ScriptableObjects. These scripts work well with the codebase and required little to no changes. However, I did change the AnimalObject script a bit.
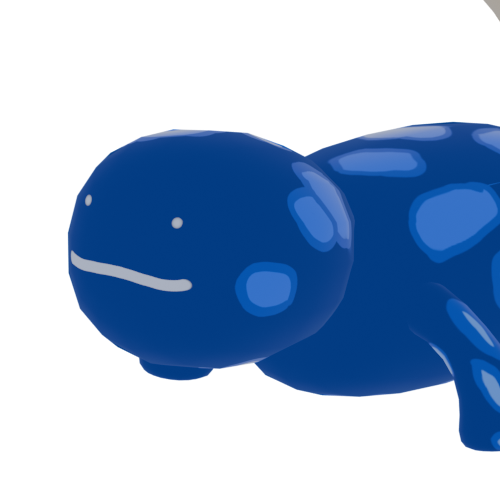
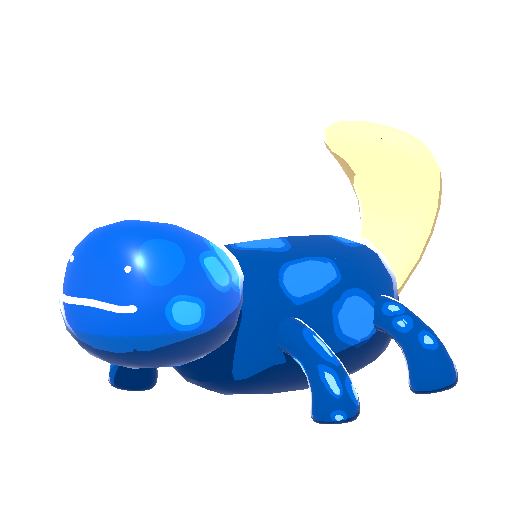
In the original project, icons for animals were rendered in Blender, making it difficult to show how an animal may look ingame. Now, icons are generated in engine, using the shaders that the 3D model always uses. This also allows me to quickly create icons without having to open more programs.
Before
After
Adding new mechanics
The new mechanics I will be adding are going to be apart of a new series I’m starting, where I will continuously log my progress on this project. The next post in the series should be here.